Ukulele
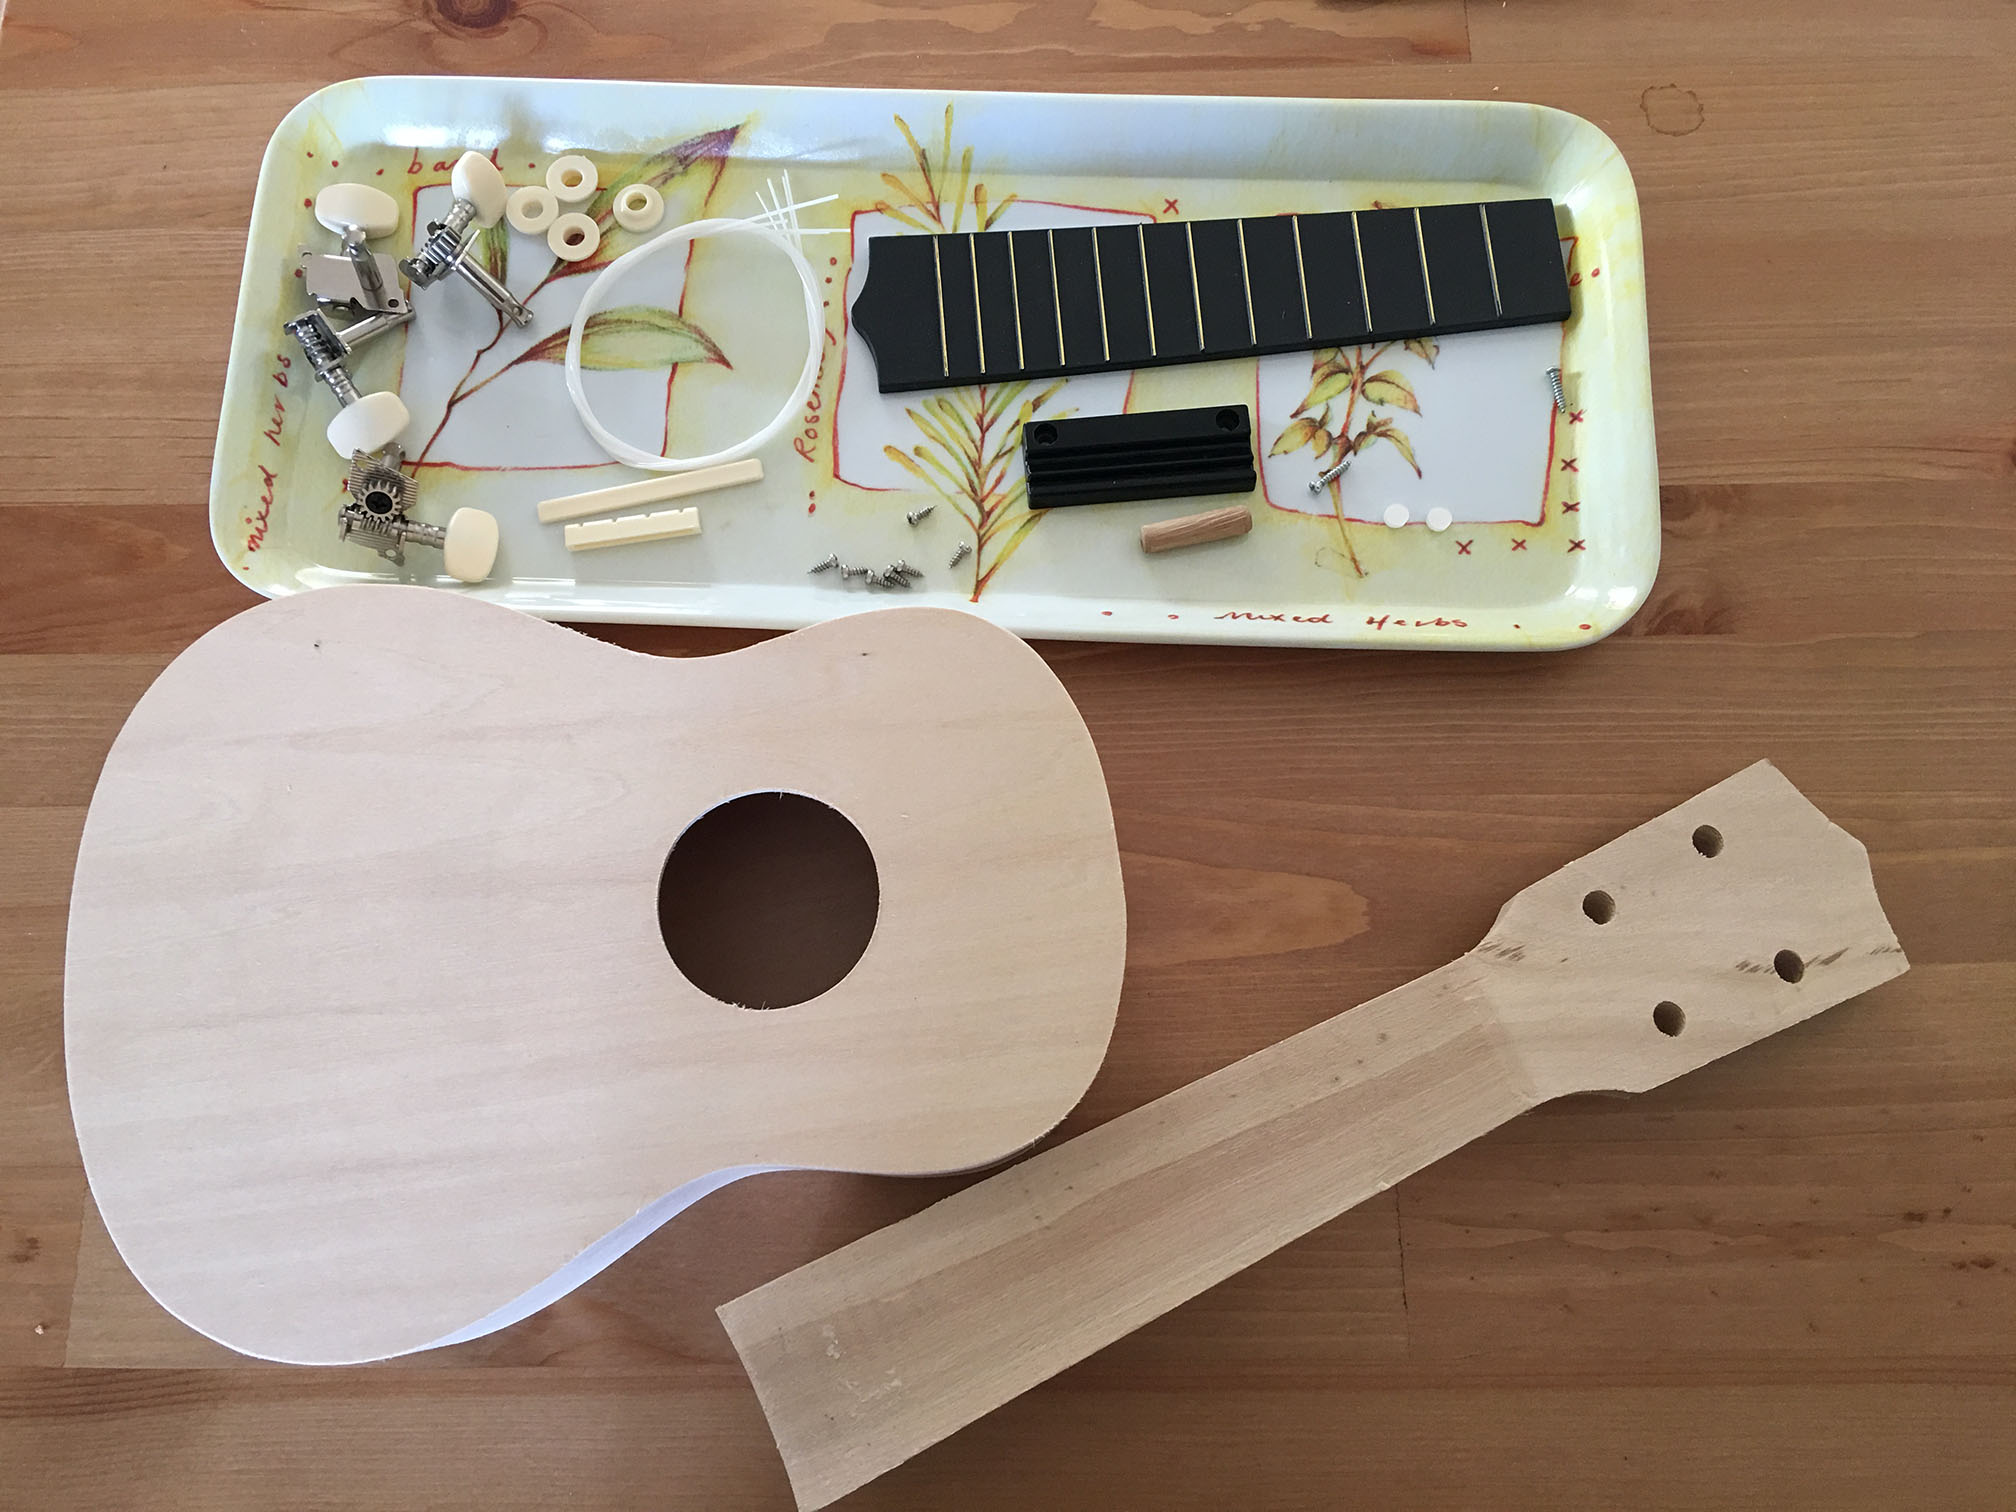
I got a Ukulele kit from Ali Express. Probably not any cheaper than an assembled one, but I felt like putting it together myself.
However it came with no instructions. Not even to say what kind it was, because it turns out there are several types of ukulele! It didn’t say what positions to stick things either, but that is crucial because it would affect the intonation of the ukulele if the positions were not quite right.
I figured out it was a “standard” or “soprano” ukulele, since it was about 53cm long (see wikipedia).
Since the parts came unfinished, I should have begun by painting or varnishing the guitar. I didn’t do that because I wasn’t planning on any decoration. I didn’t want to encourage Katie to start painting my own guitar, avoiding that getting damaged was part of the point of getting the ukulele.
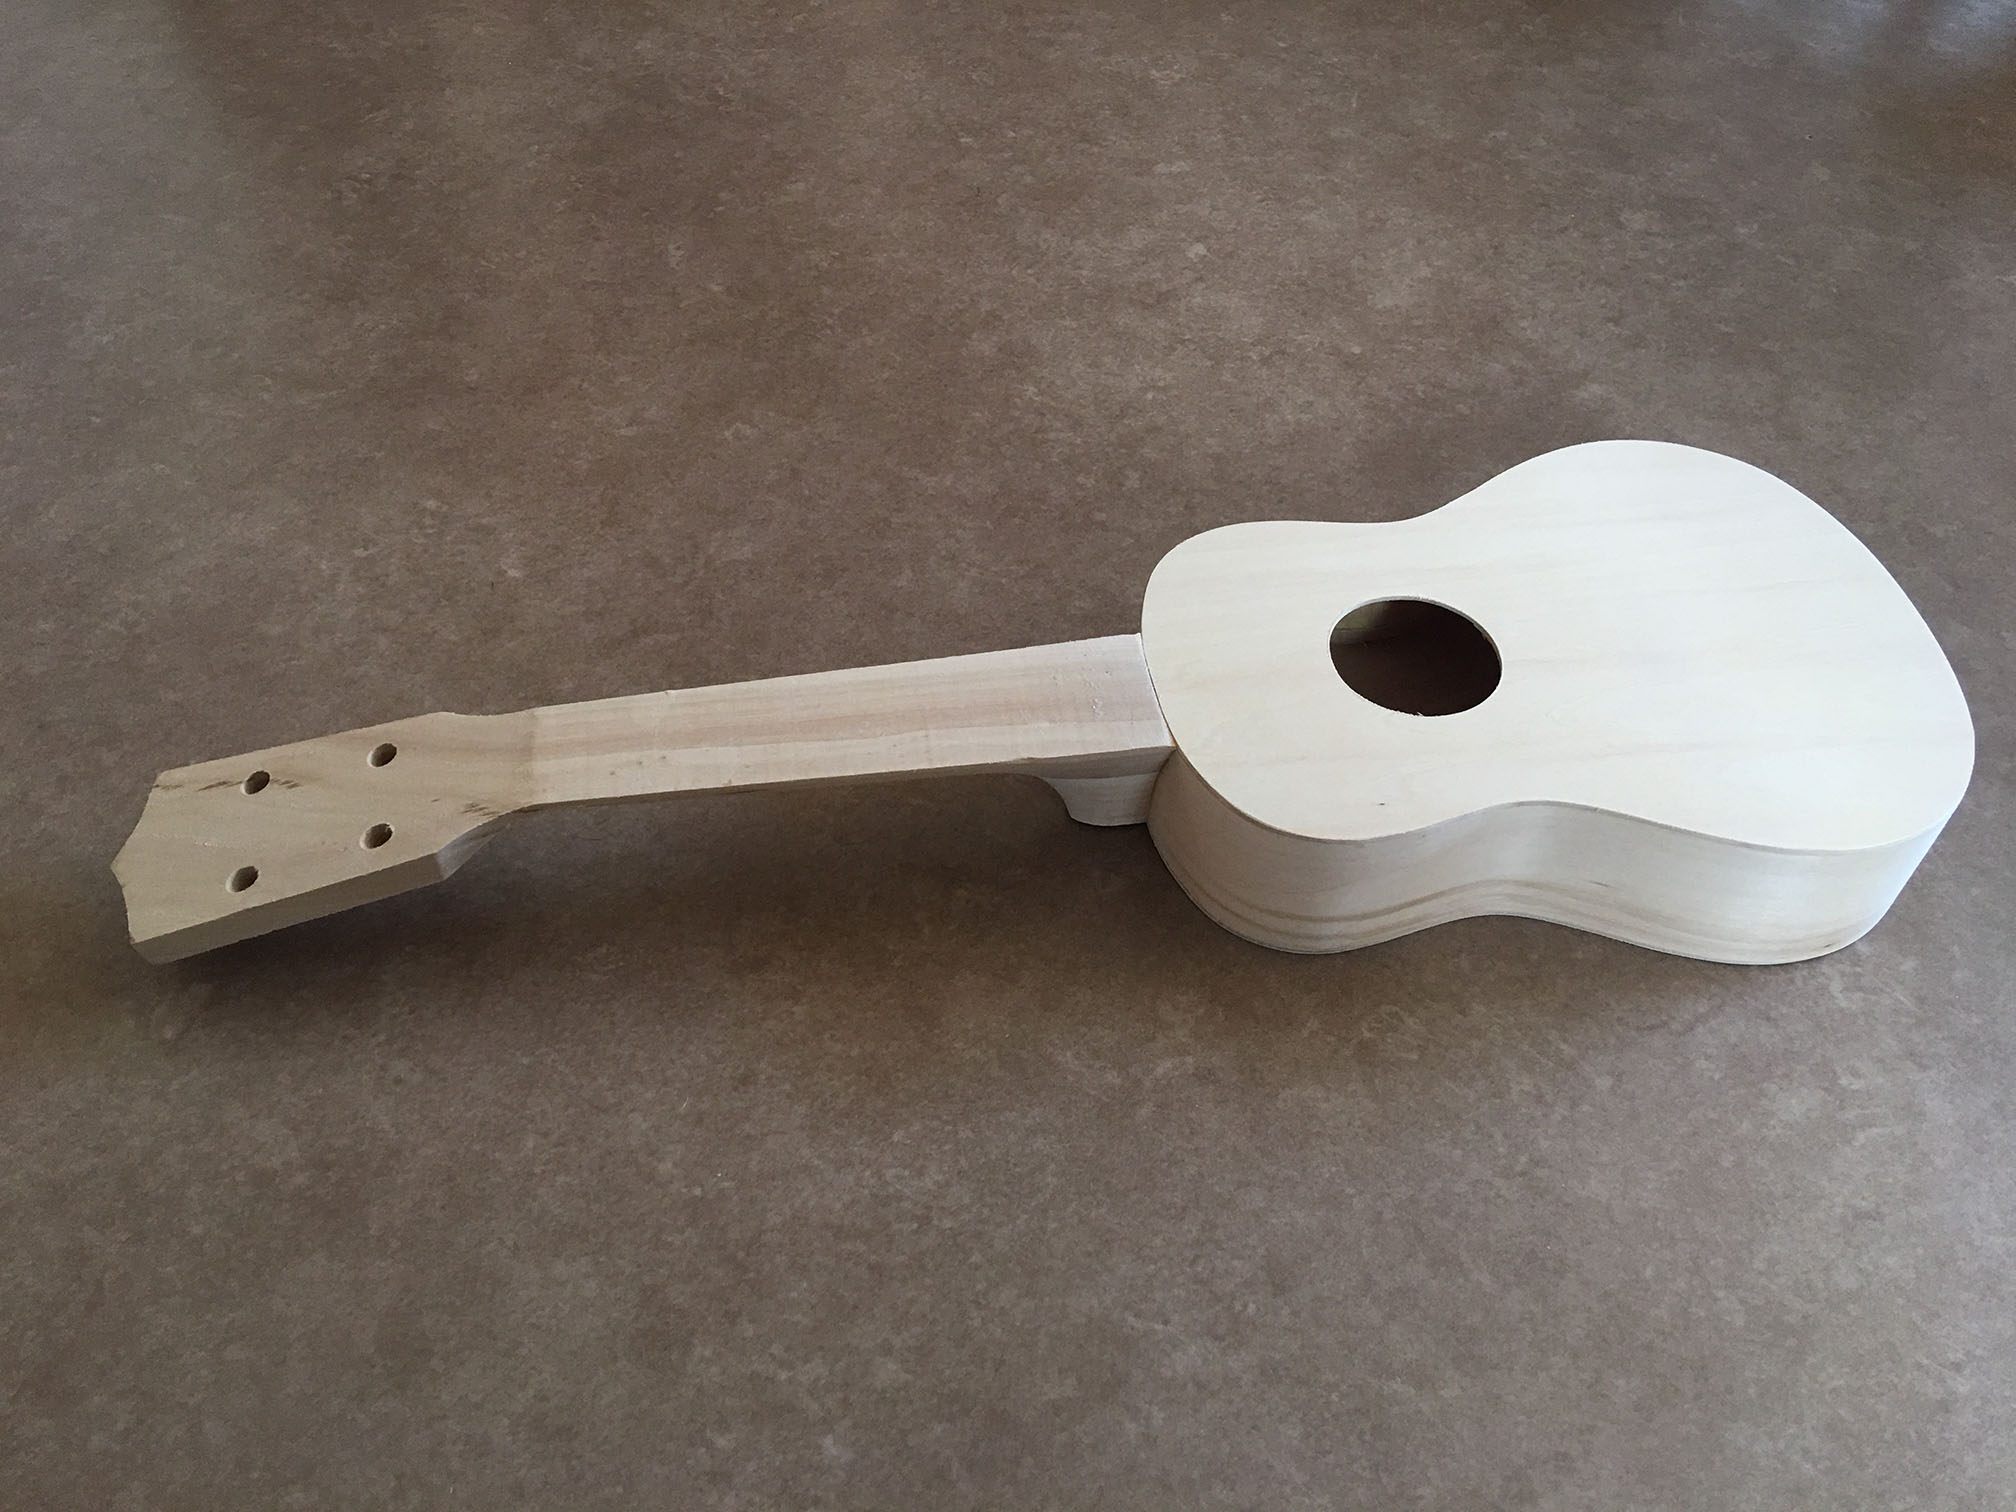
First of all glue the body and neck together. There should be only one way to attach it.
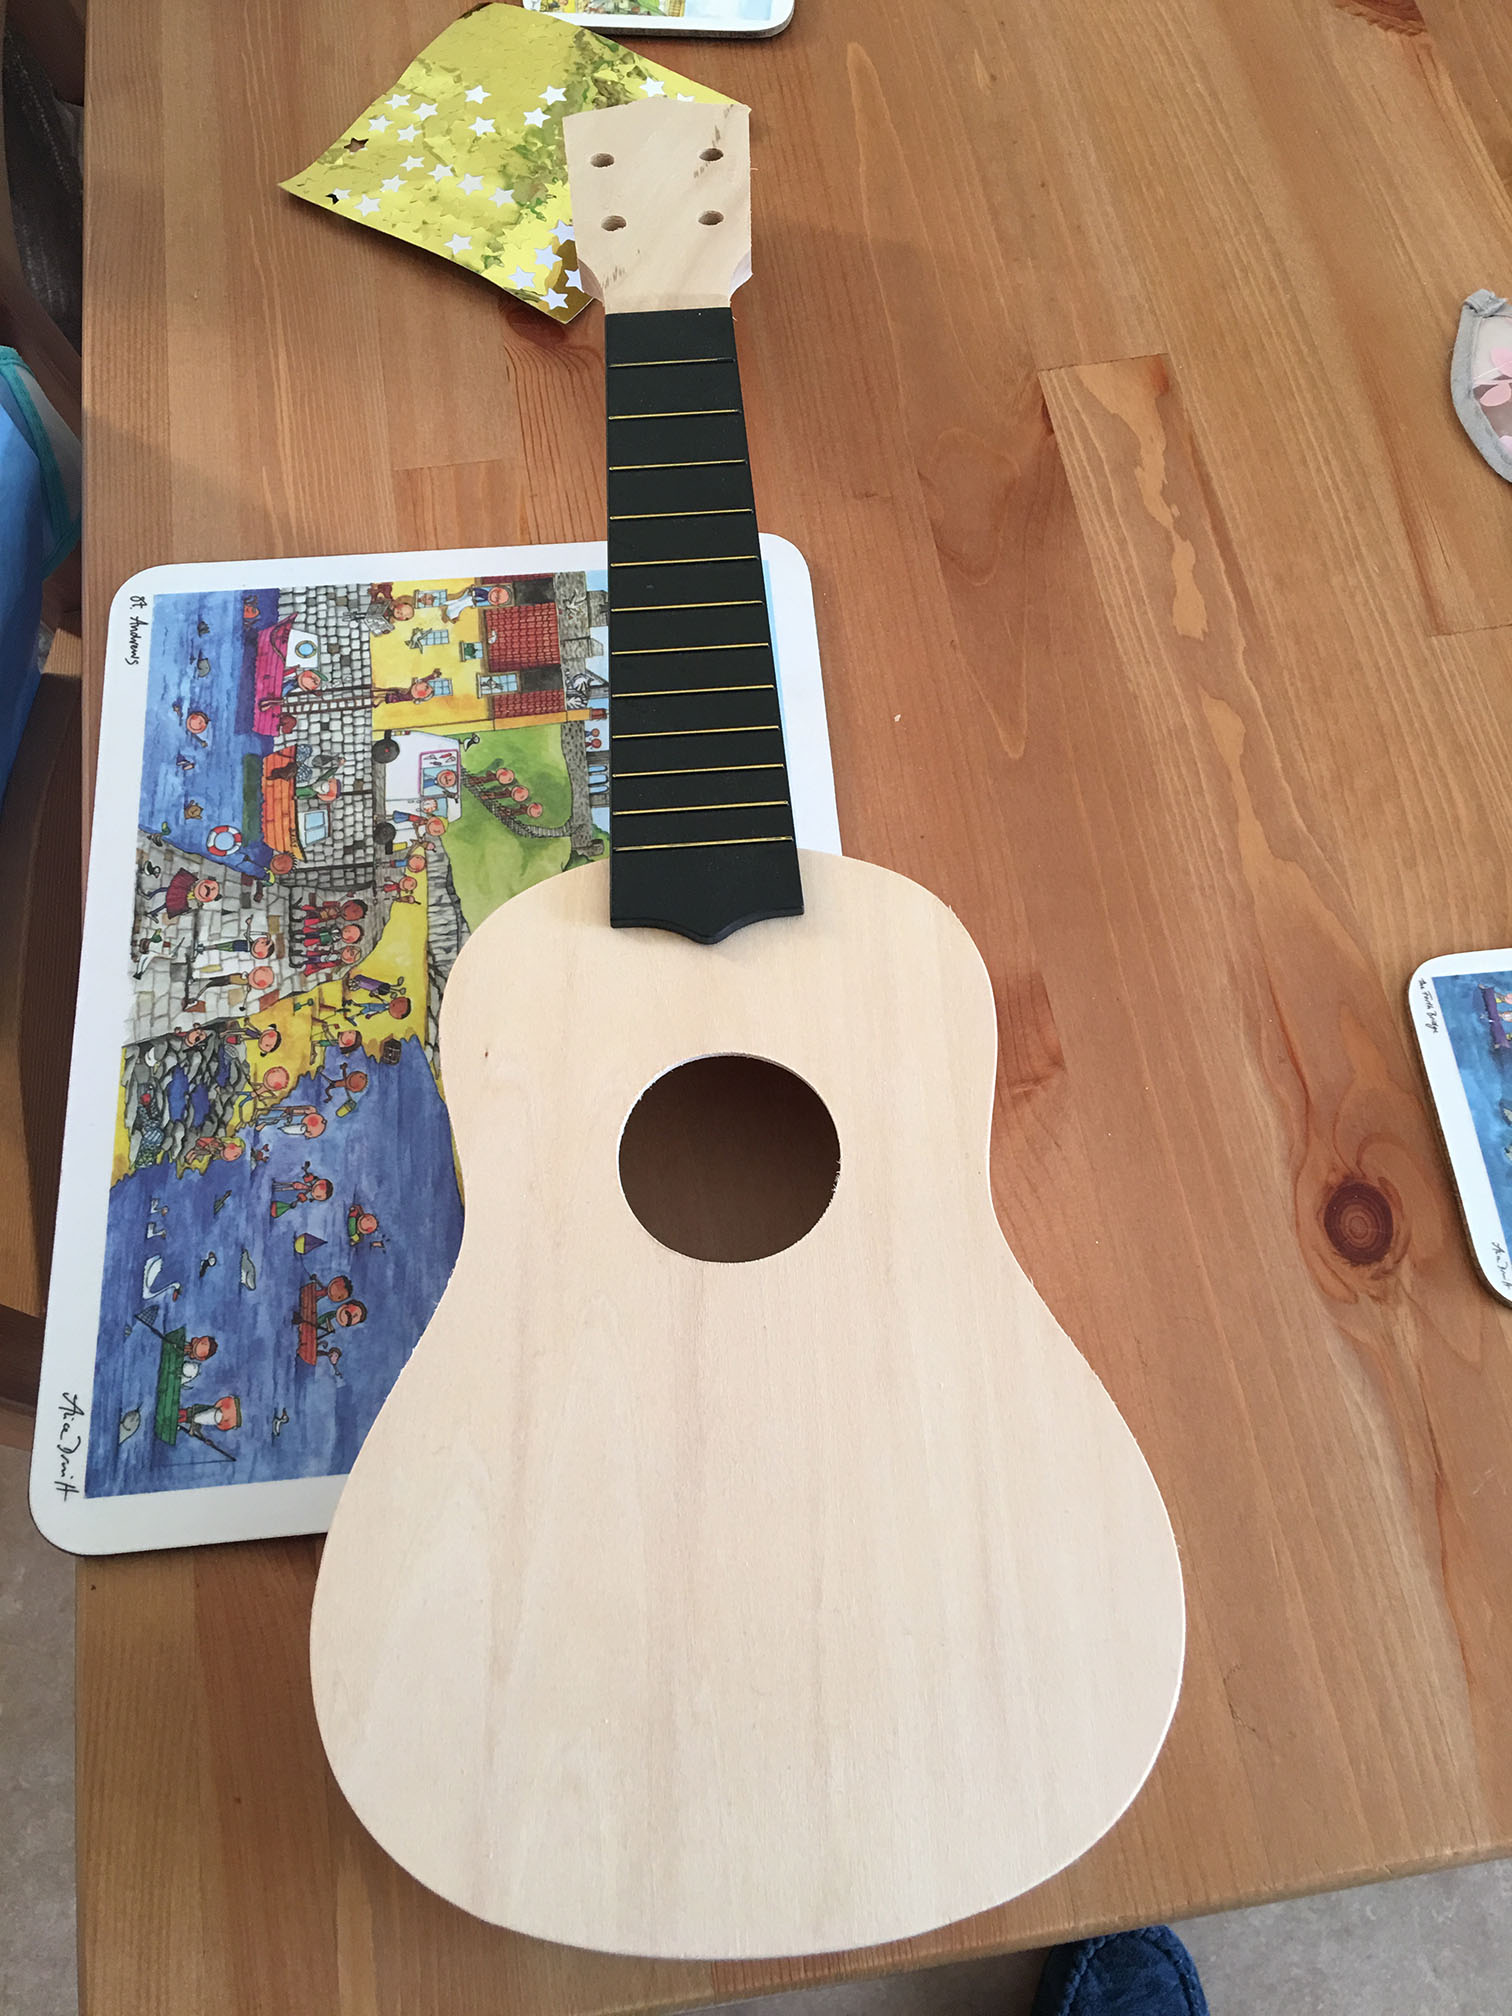
Second glue the fretboard onto the neck. It should be easy to figure out the position, because the neck and fretboard surfaces match. Just slide the fretboard until it fits and glue it.
Neck and fretboard glued together
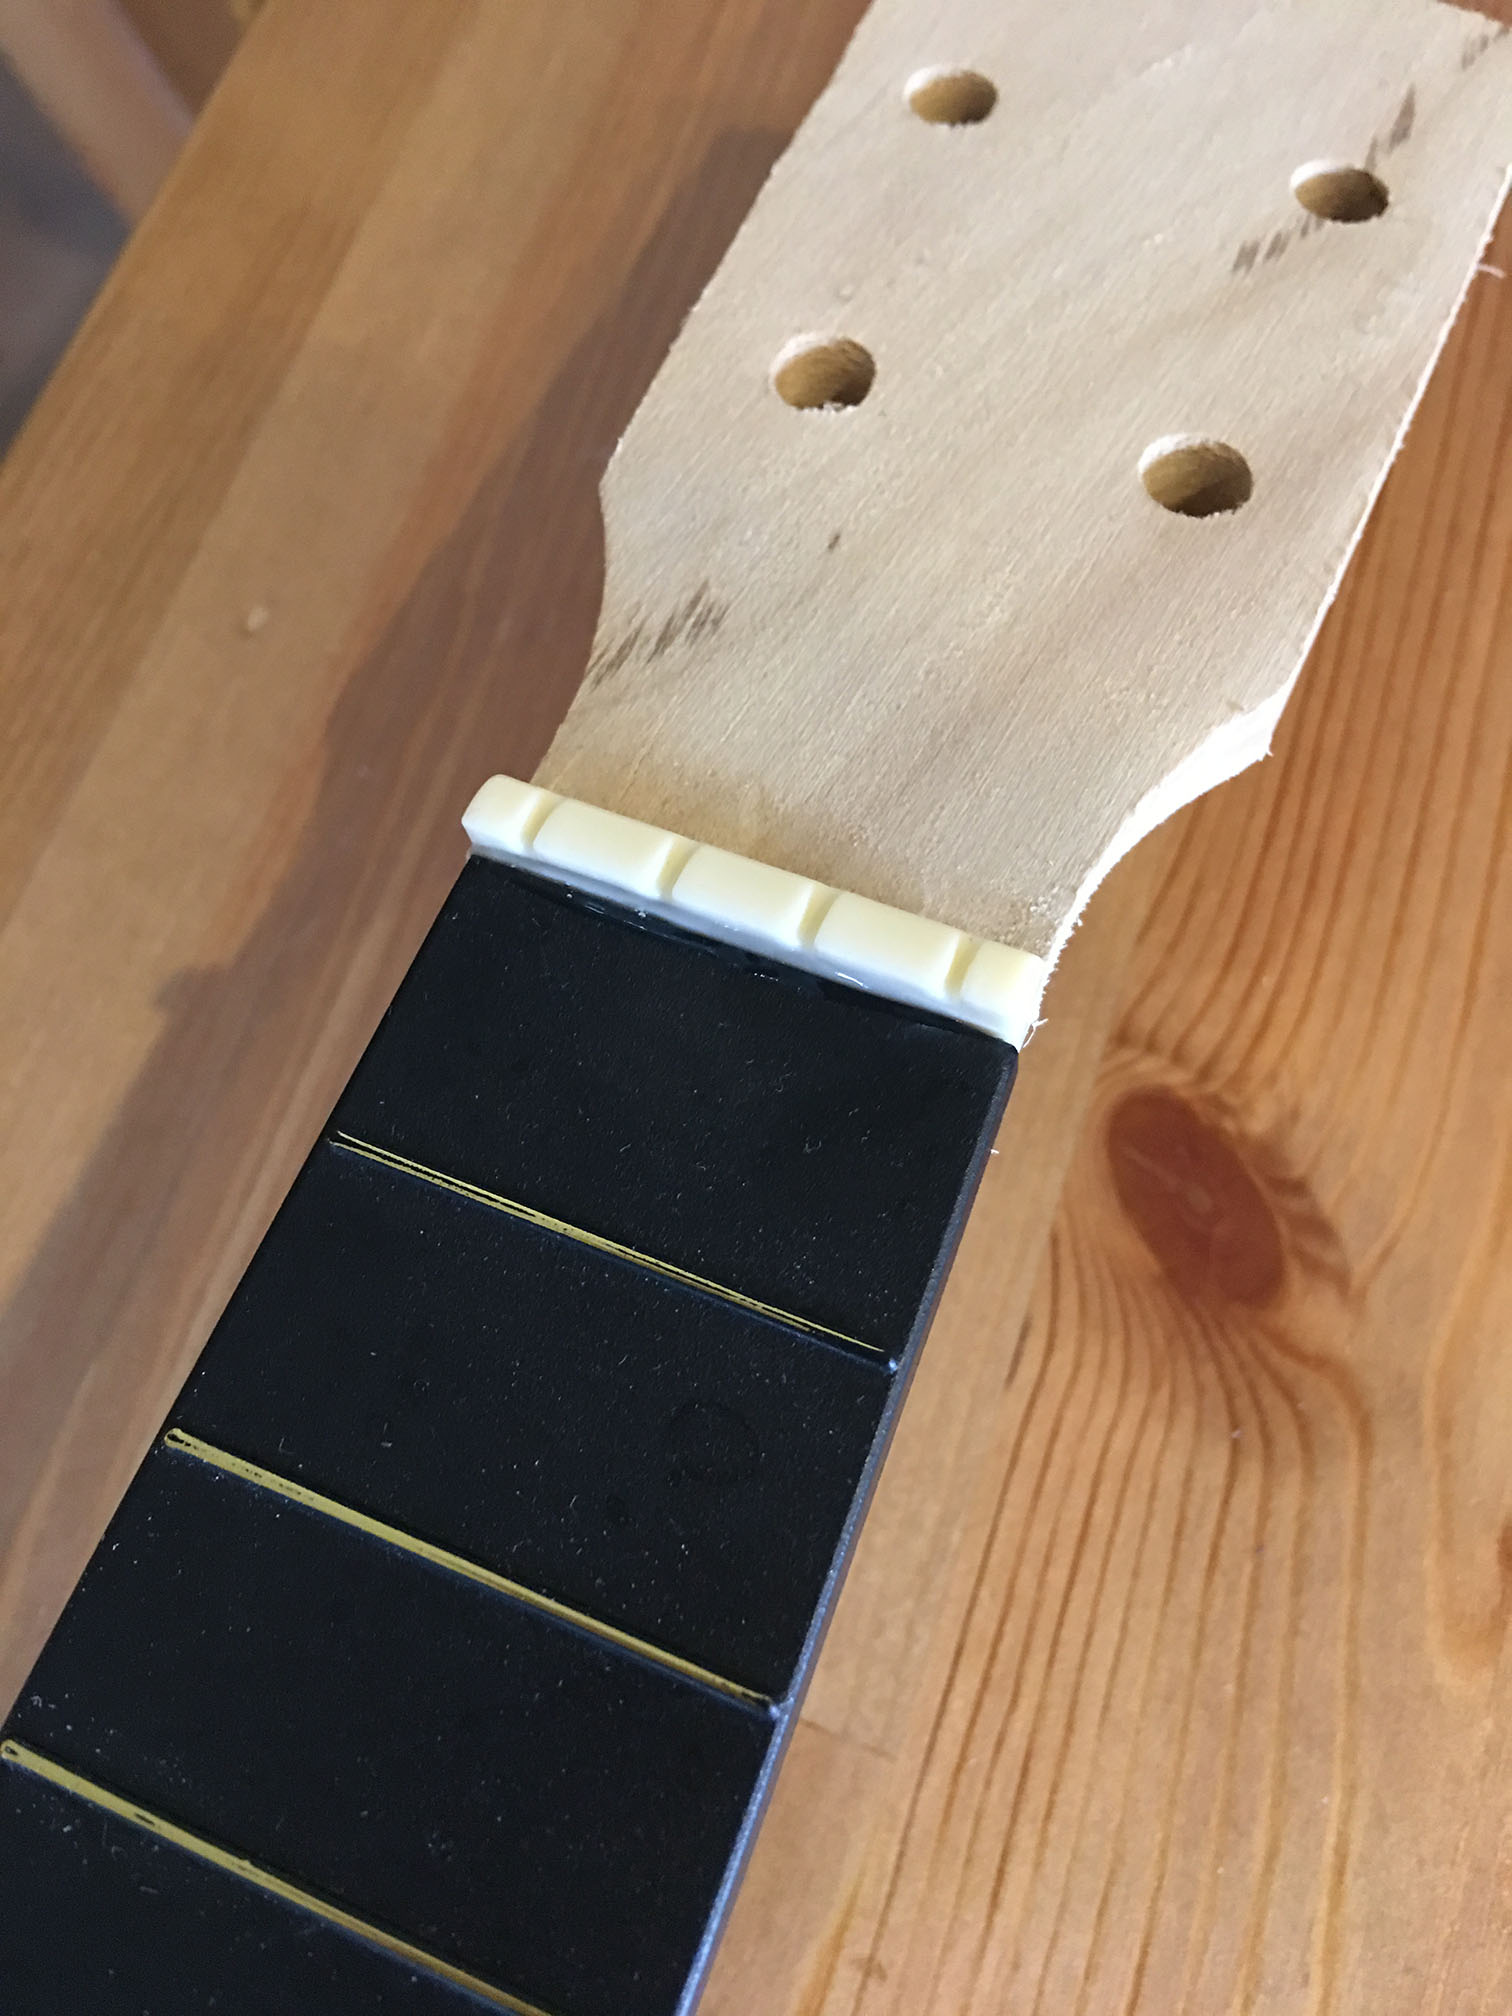
Third, stick the nut immediately at the top of the fretboard.
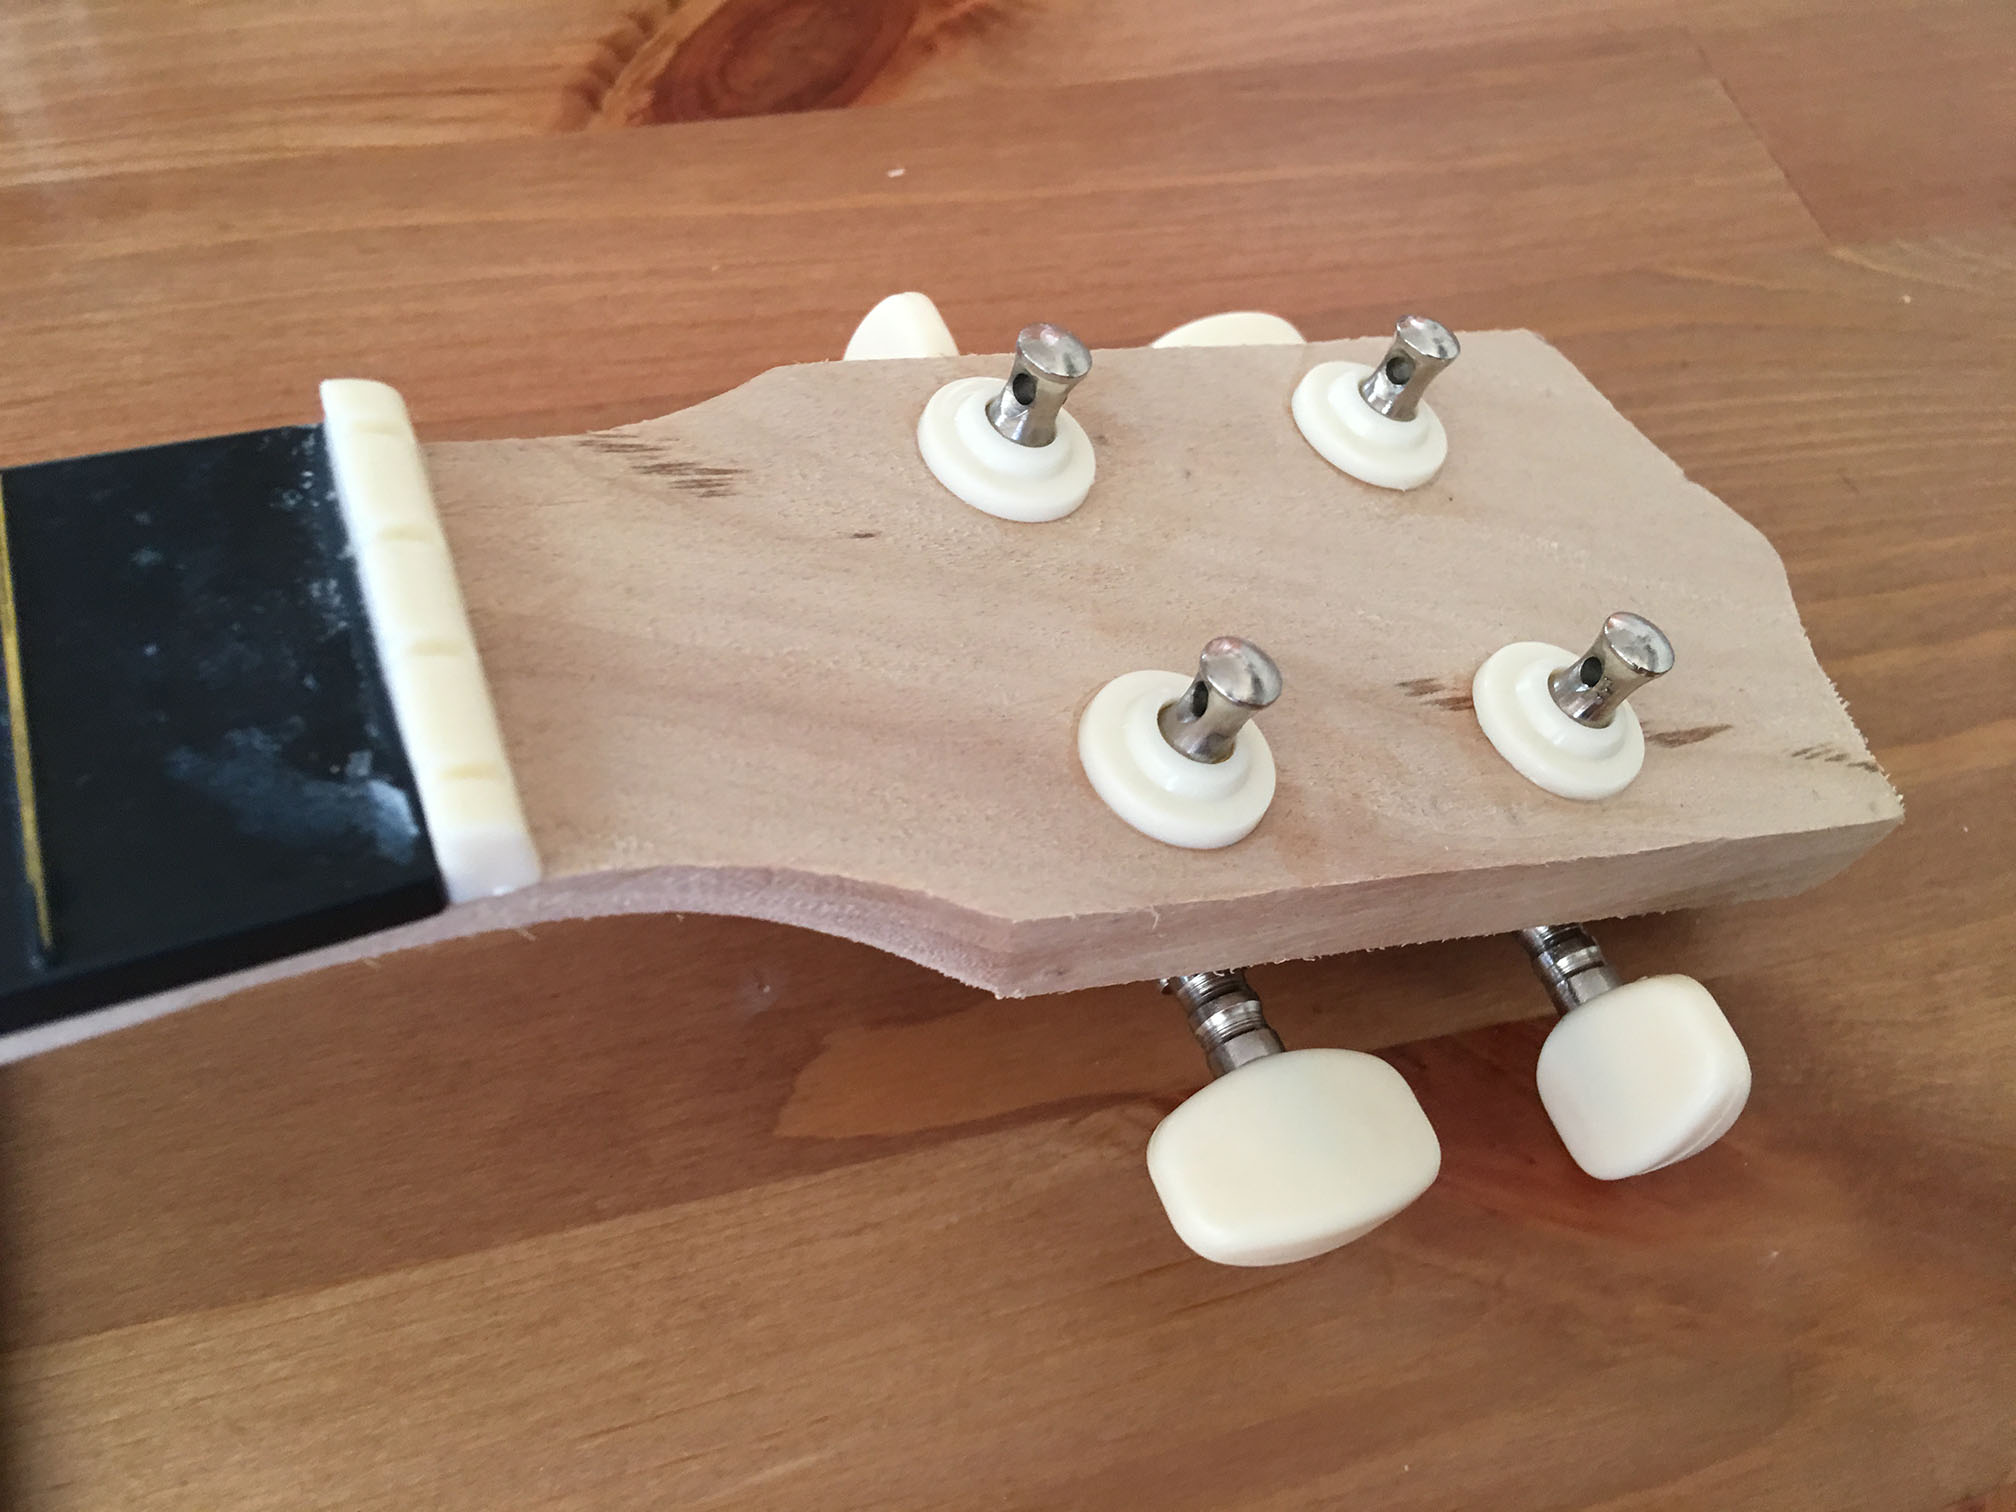
Fourth, install the tuning keys. This is a bit more complicated, but the holes are pre-drilled so just insert into the holes, screw into place and then glue the caps over the pegs.
Tuning keys front
Tuning keys rear
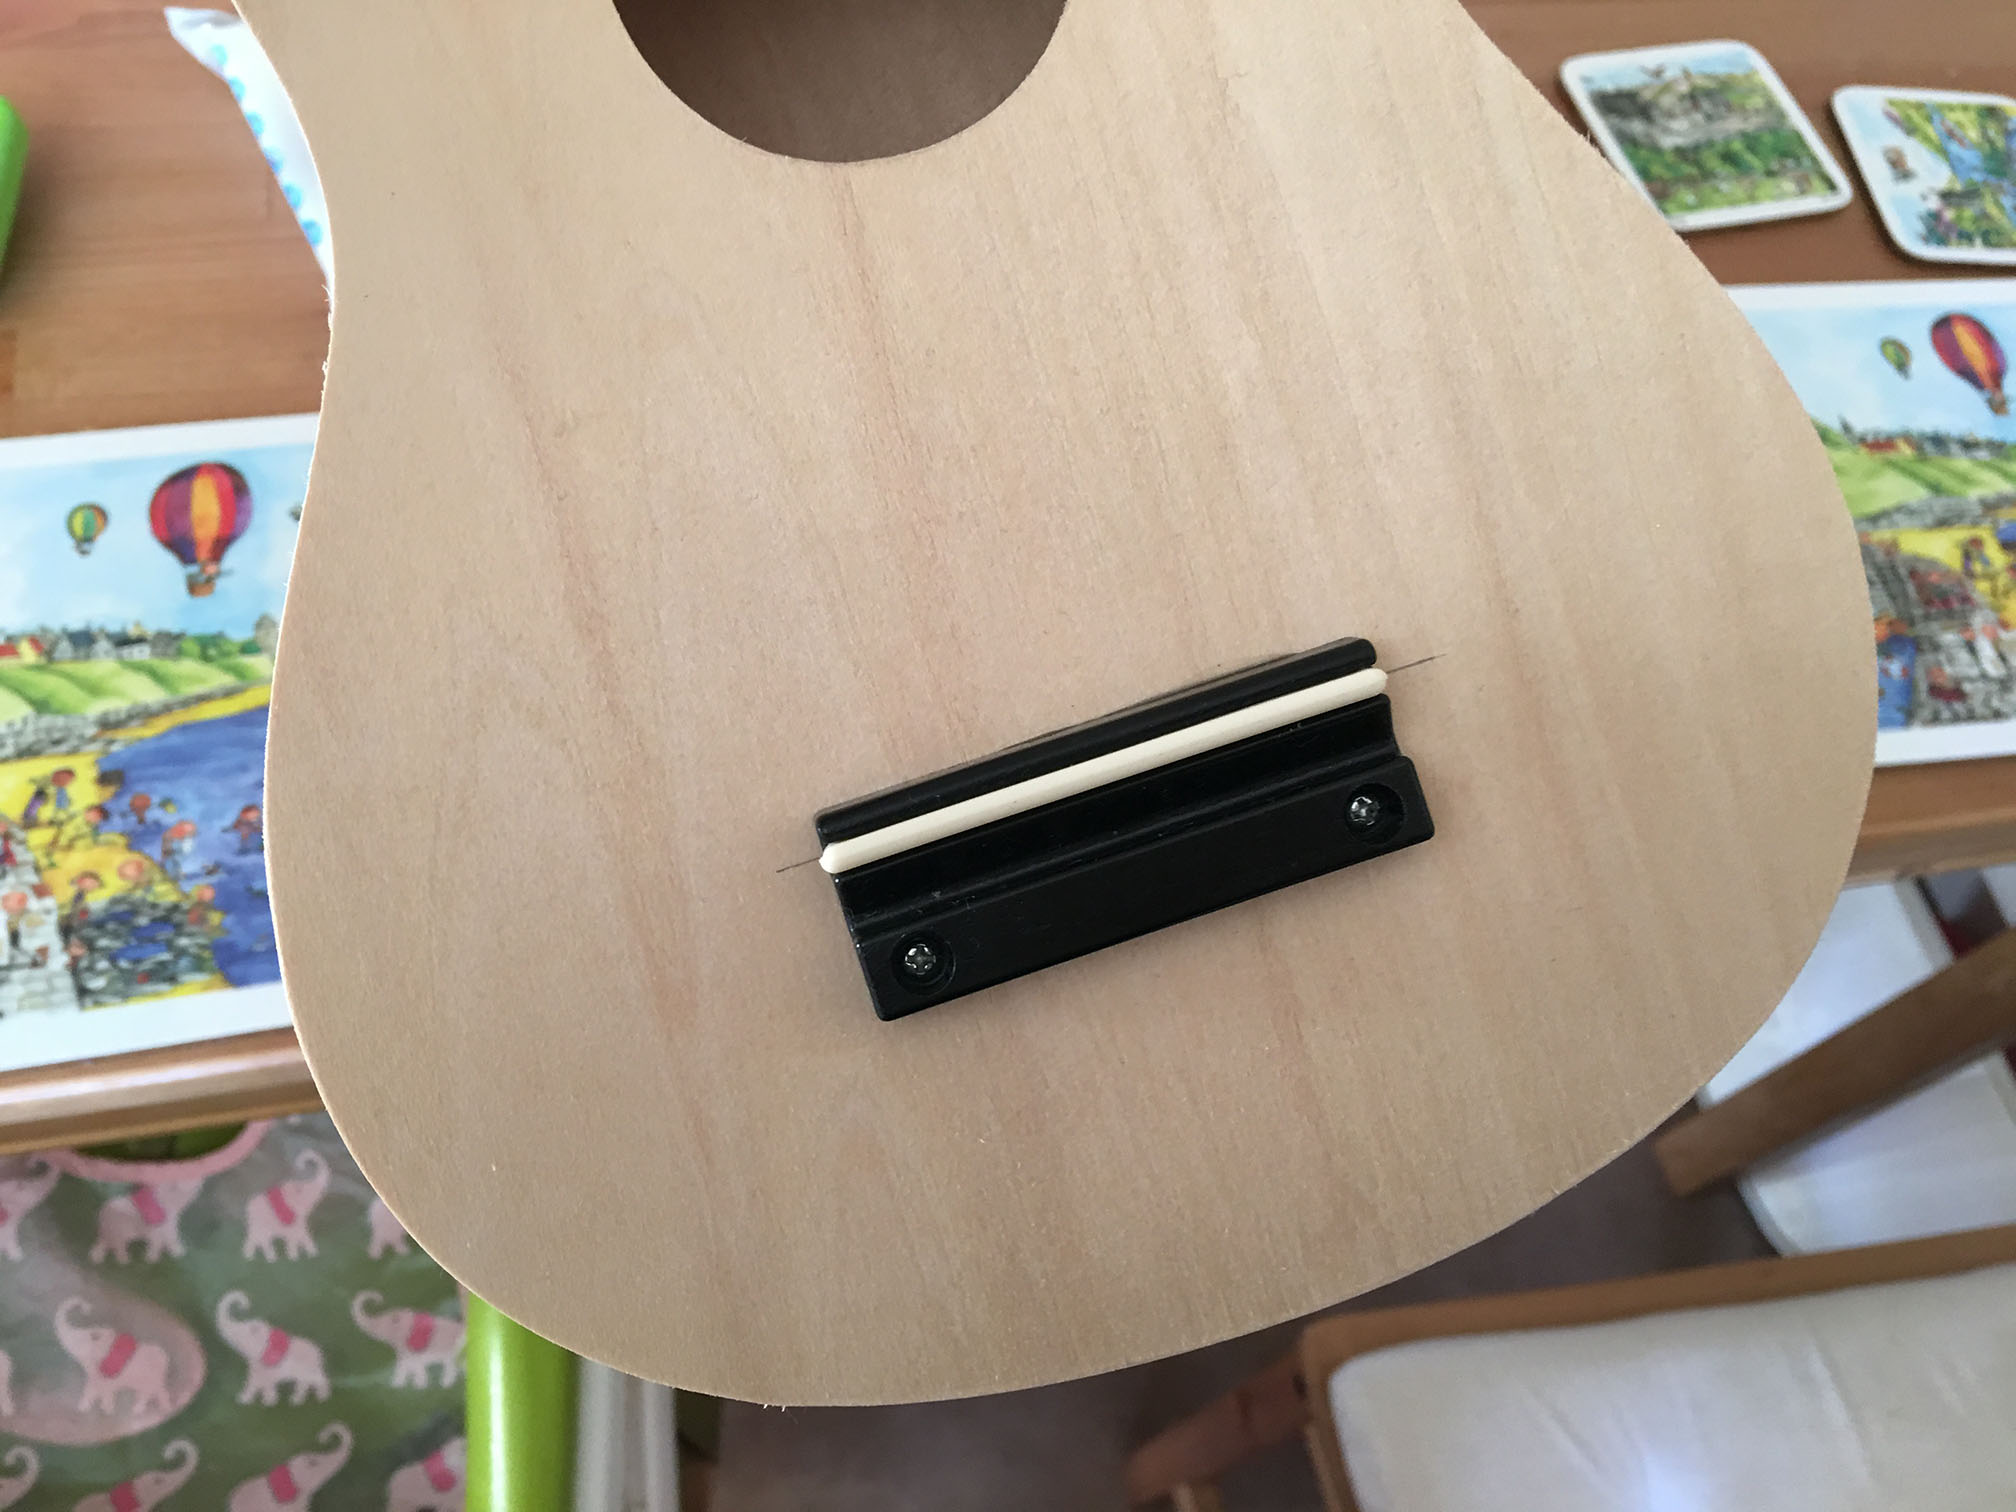
Sixth, glue the bridge into position. This one is difficult, it took me a while to figure out what to do. It is located below the bottom of the fretboard, and needs to be put on straight, i.e. exactly perpendicular to the main axis of symmetry of the guitar. But how far down? This was what took me a while. What I eventually read somewhere is that the 12th fret is exactly halfway down the string. You can verify this on a guitar or ukulele because you can achieve a harmonic at that position. So measure the distance from the nut to the 12th fret, then draw a line that distance from the 12th fret. It will be somewhat below the sound hole.
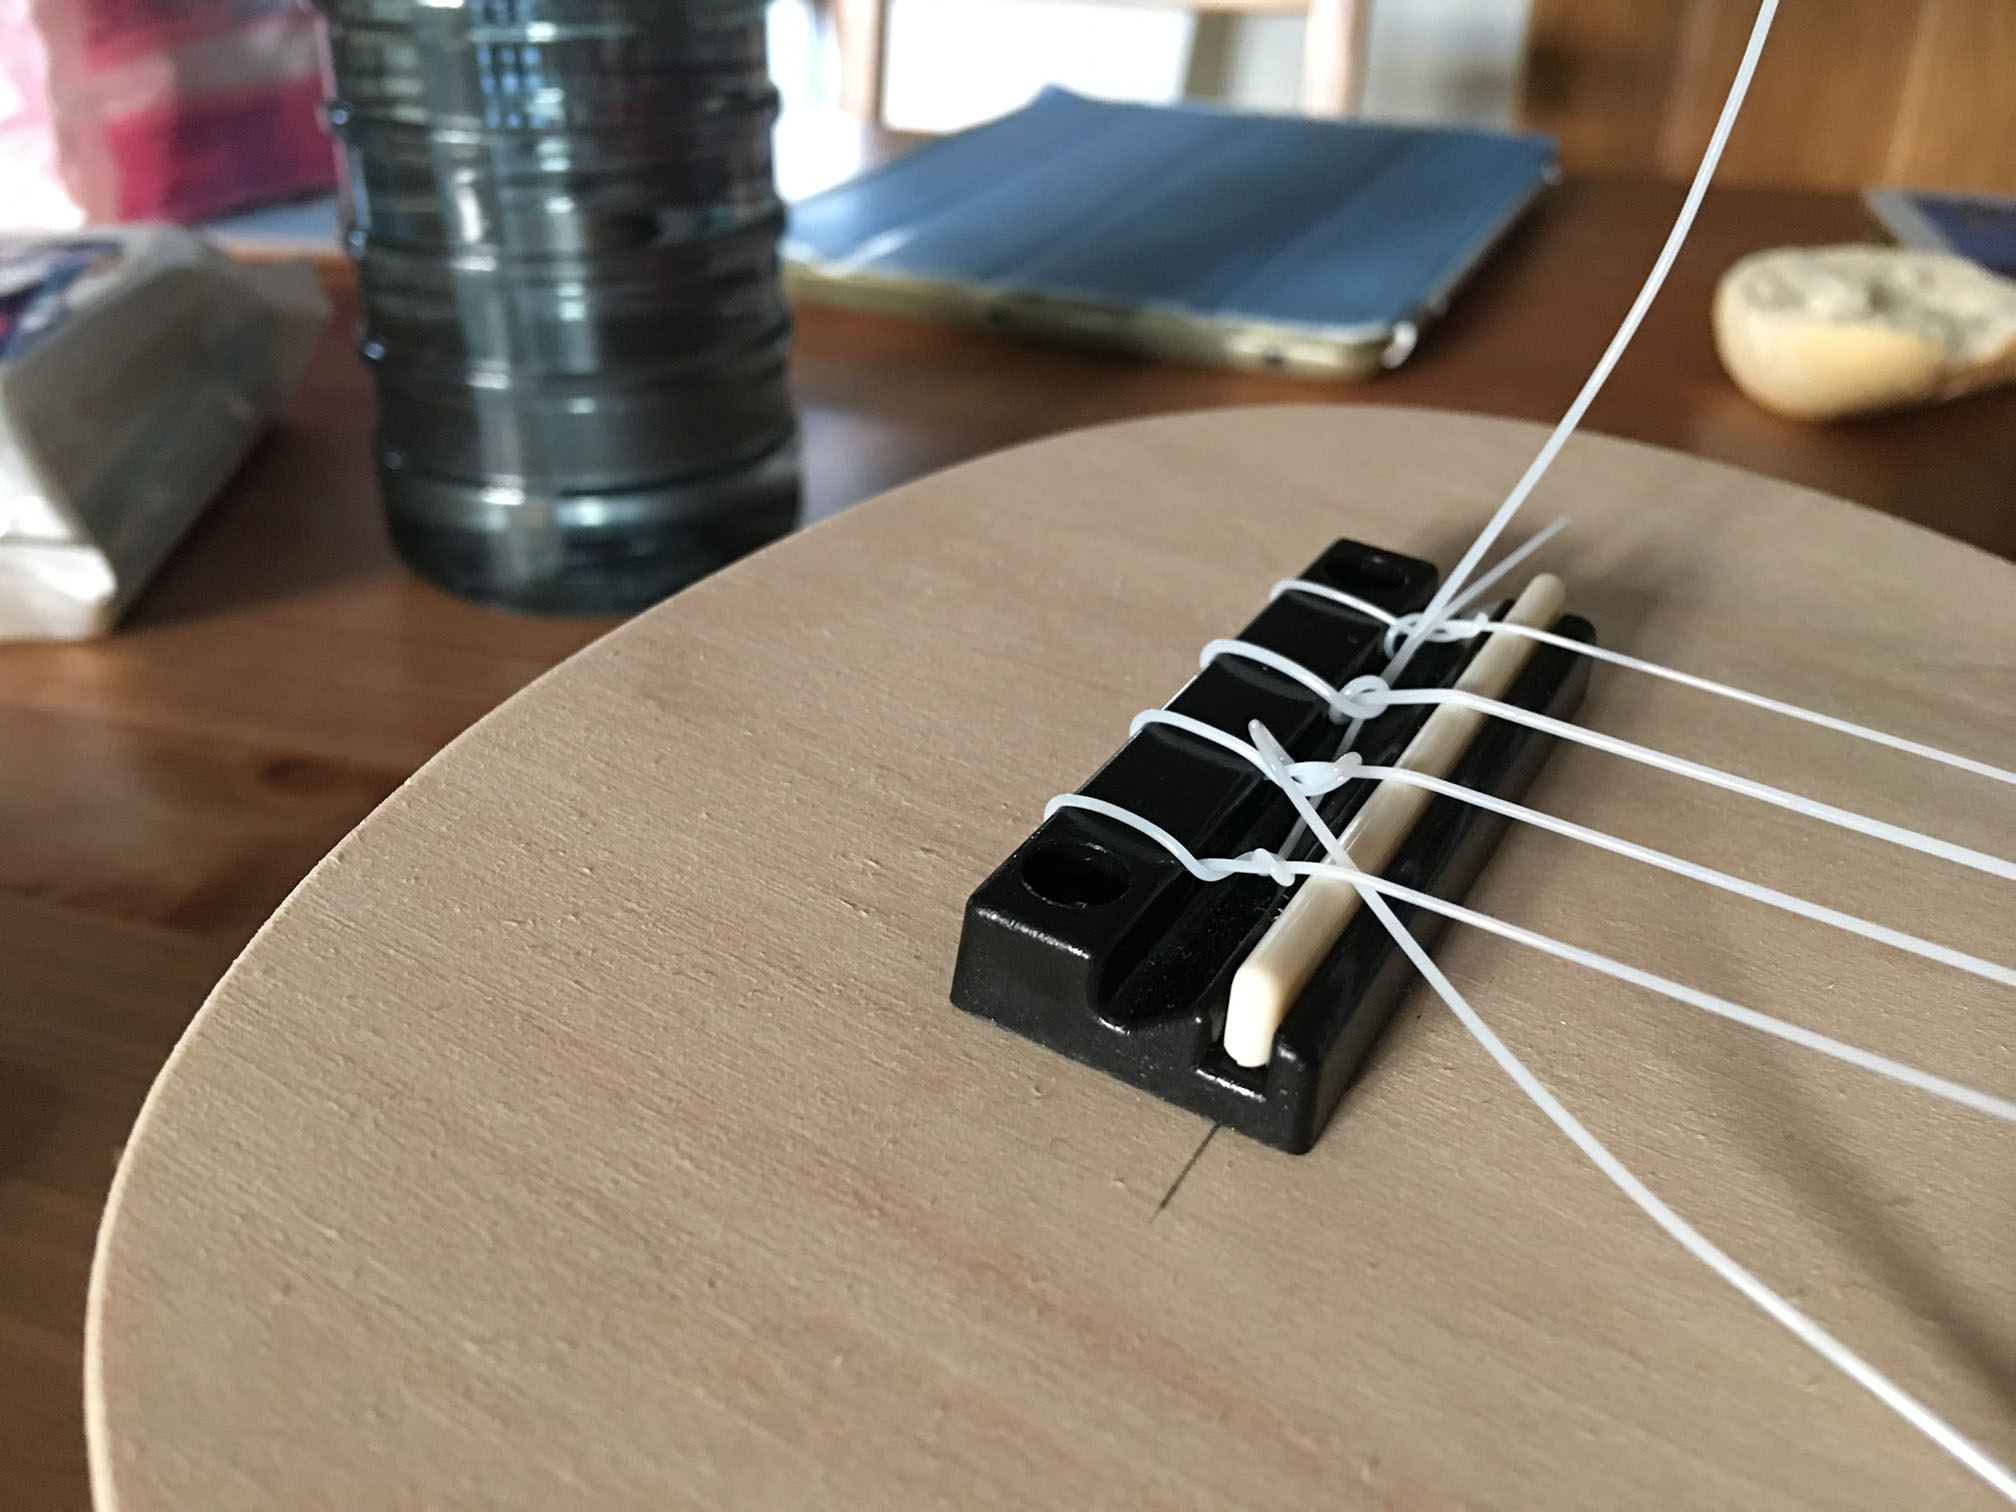
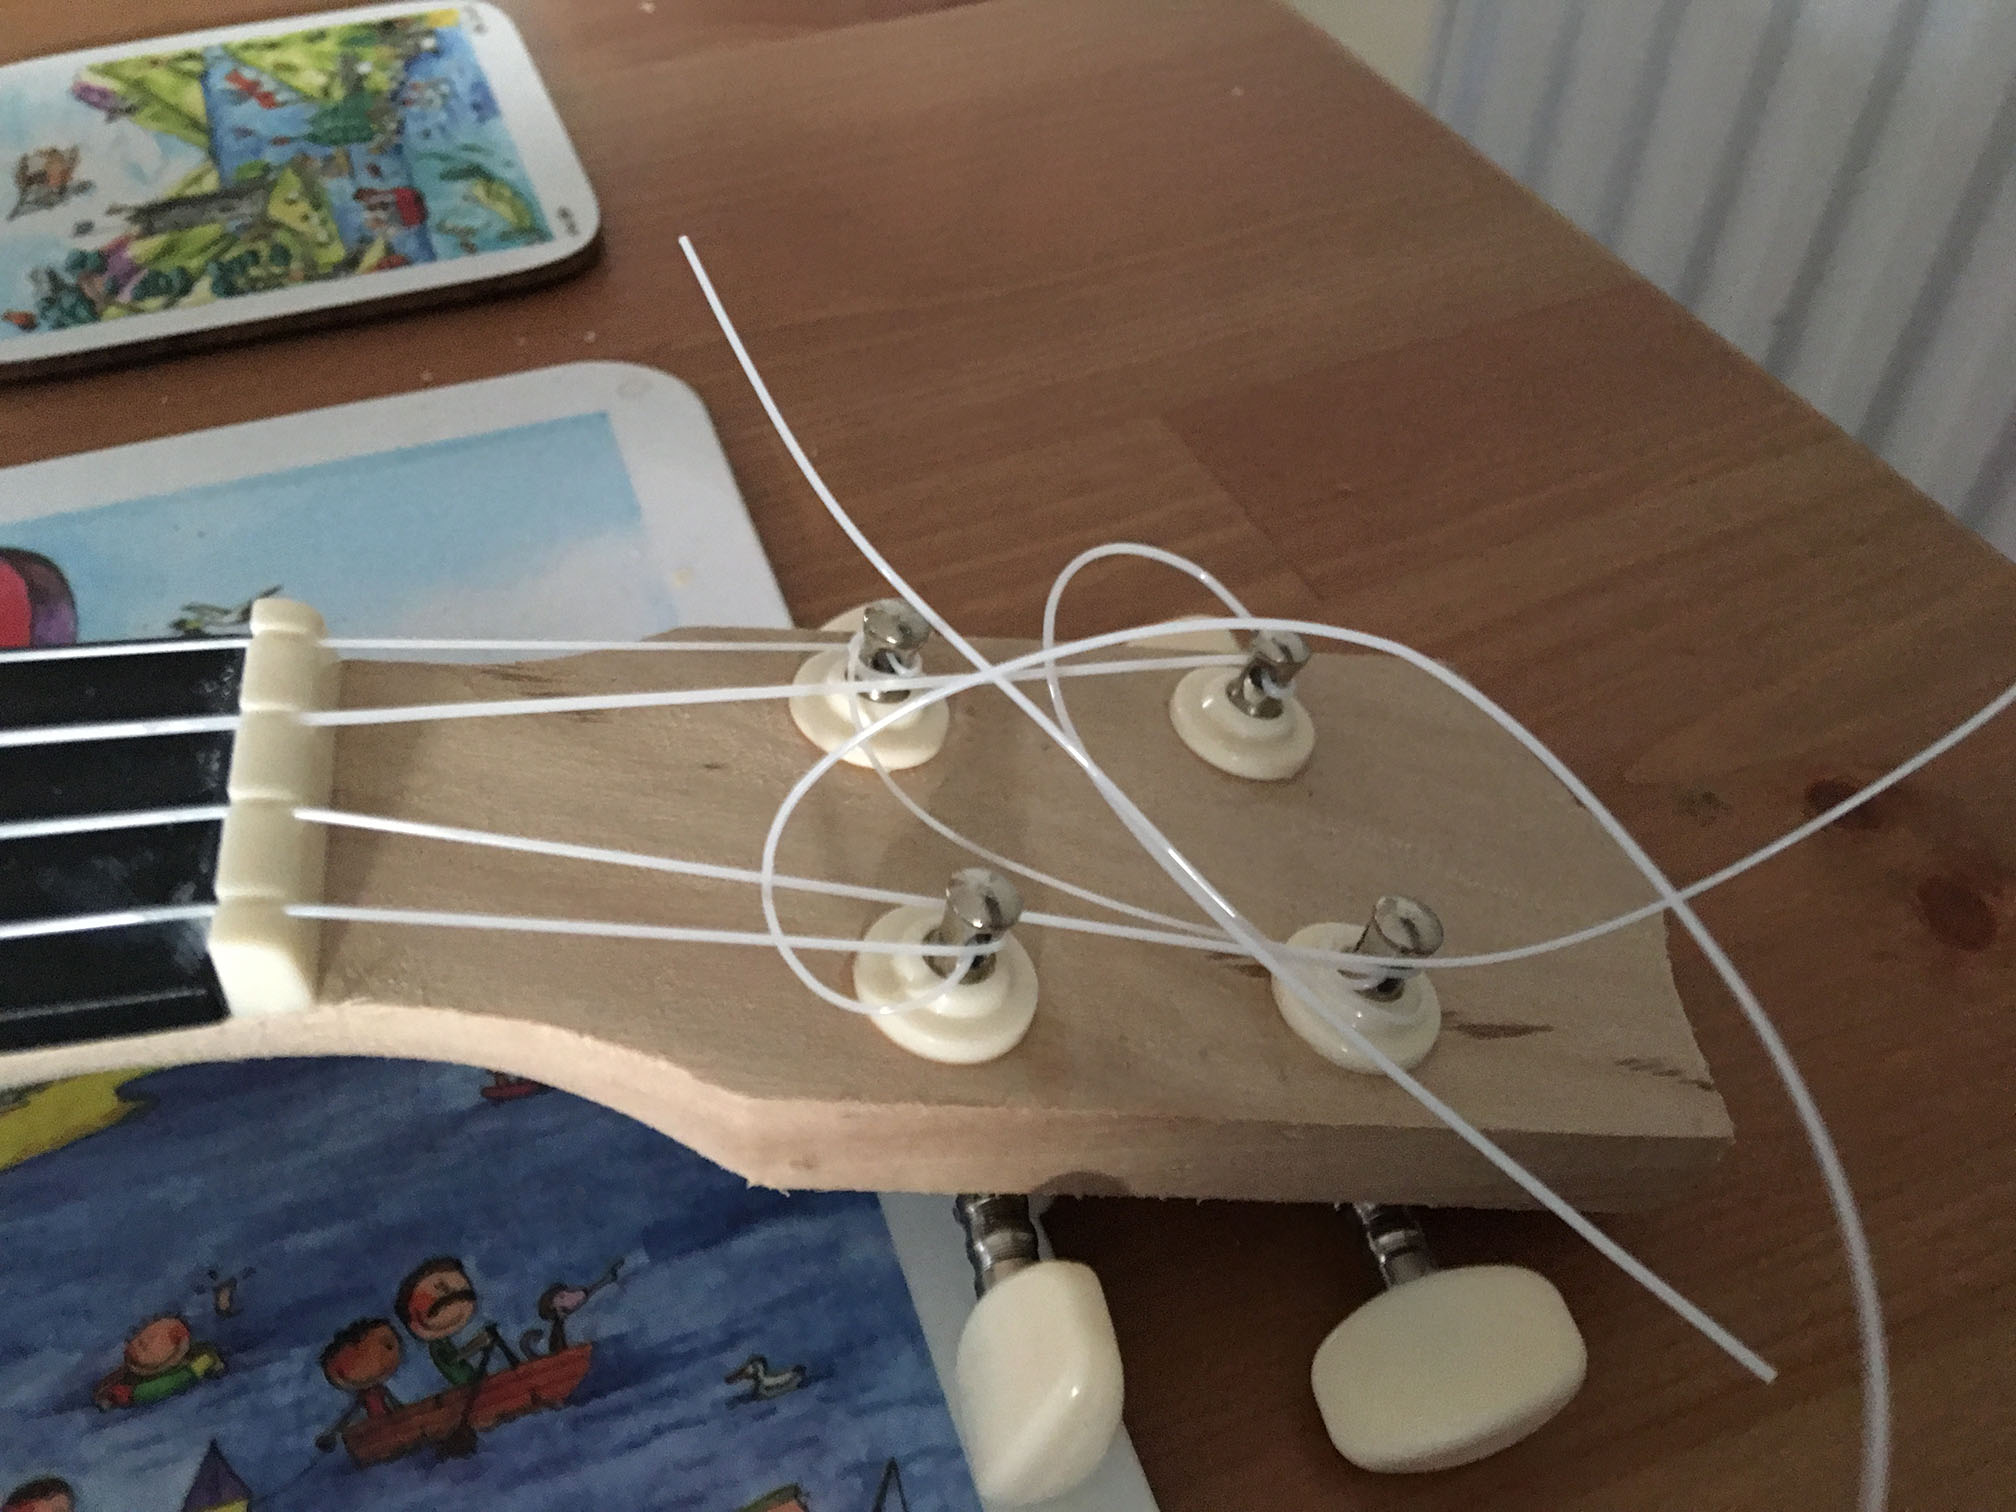
Seventh, another tricky stage. How to attach the strings. For this stage it would be too difficult to explain using words, so here is a link to a video I found useful. It is by Ken Cameron from Hiloguitars. He seems to have been born Scottish, but has picked up a American accent. Visit the youtube here to learn how to string it. Before starting to attach them, check out the following step though!
String attachment at bridge
String attachment at nut
Eighth, in what order to attach the string? The strings in my kit came completely unlabelled, I imagine that is not the case if you buy a set of strings from a shop. Likely each string would come in an envelope with . I could see that they were each a different thickness. Again it took a while to find out what string thicknesses will be. The standard tuning is G4 C4 E4 A4. That means G is the the top string while playing or leftmost string with the ukulele pointing upwards. I eventually found thicknesses of the individual strings on a message board post. This post stated that the thicknesses of the strings as as follows in inches: G = .026, C = .037, E = .030, A = .024. In other words in increasing order of thickness we have the A string, G string, E string and then C string.
If you get the kit then I hope yours comes with instructions, but if not the above should get you fairly close.